
How to Check and Clean Your Fireplace and Chimney Before the First Fire of the Season
Before your first fire of the season, inspect the damper, check for creosote and blockages, clean the firebox the right way, and know the exact signs that mean you need a certified chimney sweep.
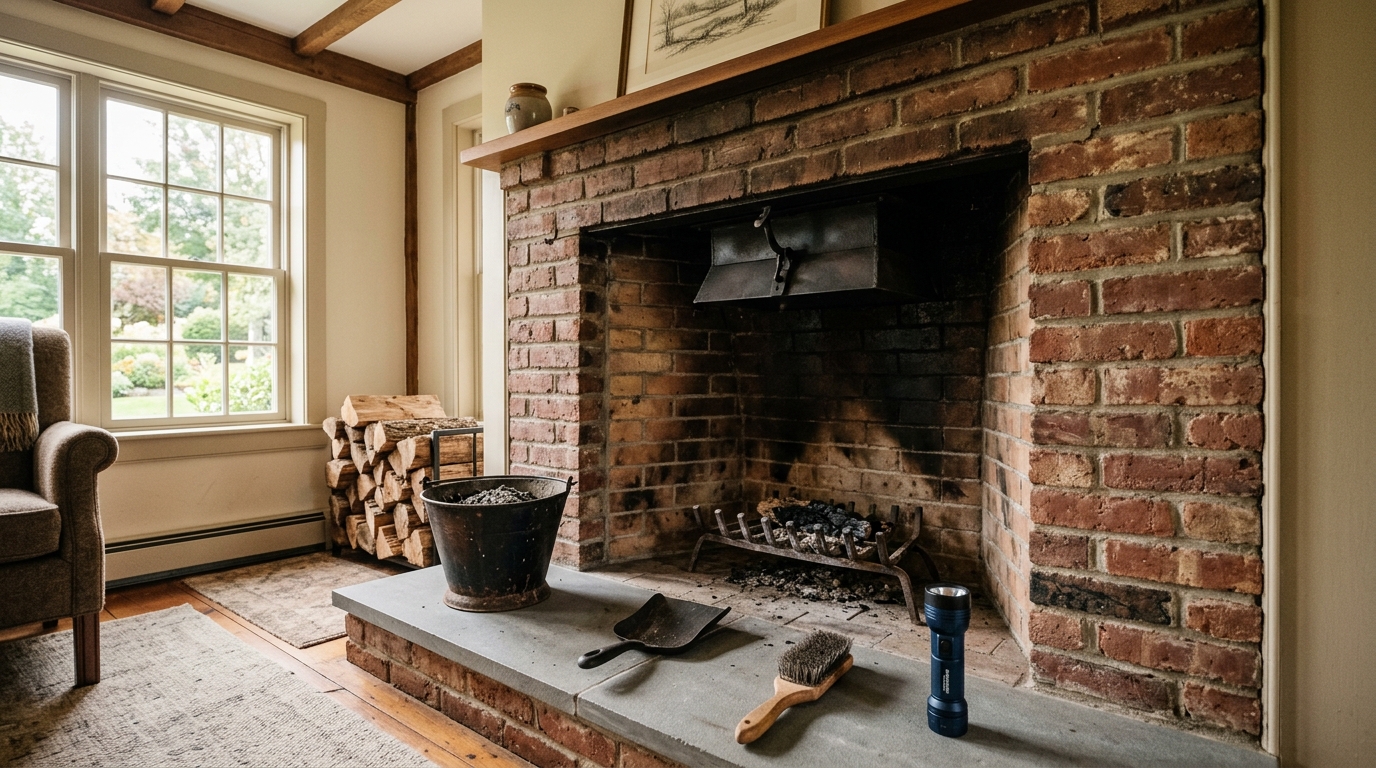
The first cold night of fall is the worst possible time to discover your damper is stuck, birds nested in your flue over the summer, or last season’s creosote buildup is one hot fire away from a chimney fire. Fifteen minutes of inspection in September — plus a basic cleaning — prevents the three most common (and most expensive) fireplace failures: smoke rolling into the room, a stuck or rusted damper, and flue fires.
Why This Matters: Creosote Is the Real Villain
Every wood fire releases unburned particles that condense on the inside of your flue as creosote — a black, tarry, highly flammable residue. Under half an inch, it’s a maintenance item. At a quarter inch or more, or if it looks shiny and hardened (stage 3 creosote), it’s a genuine fire hazard that requires professional removal.
A clogged or blocked flue doesn’t just risk fire — it blocks exhaust. That pushes smoke and, far more dangerously, carbon monoxide back into your living space.
Tools and Supplies
- Flashlight (or a phone light)
- Fireplace gloves and a dust mask (N95 or better)
- Drop cloth or old sheet
- Fireplace ash shovel and metal bucket
- Stiff wire brush or a shop vacuum with a HEPA filter
- Creosote sweeping log (optional, $10-$20 — a supplement, not a substitute)
- Mirror on an extendable handle, or a phone camera, for looking up the flue
Step 1: Confirm the Firebox Is Cold
Open the damper briefly and hold your hand inside — the firebox and ashes must be completely cold. If you burned anything in the last 48-72 hours, wait. Ashes can hold live embers for days.
Step 2: Remove Ashes the Safe Way
Shovel old ashes into a metal bucket with a metal lid — never a plastic bin or cardboard box, even if the ash feels cold. Take it outside, away from the house, and let it sit for several days before disposal.
Leave a thin layer (about an inch) of ash in the firebox if you burn regularly; it insulates the firebox floor and makes the next fire easier to start. For a pre-season clean-out, remove nearly all of it.
Step 3: Inspect the Damper
With a flashlight, look up past the firebox throat and find the damper plate. It should swing or slide open and closed smoothly and seal fairly tightly when closed.
- Stuck or hard to move: Rust and creosote gluing the plate in place. Work it gently; wire-brush the edges. If it won’t budge without force, stop — forcing it can bend the plate.
- Warped or bent: Warping means it has been exposed to excess heat. It needs replacement, not persuasion.
- Gaps around the closed damper: If daylight shows around the edges, you’re paying to heat the outdoors all winter. A damper replacement or a top-sealing damper upgrade is a modest repair with a fast payback.
Step 4: Check the Flue for Creosote and Blockages
Open the damper fully and shine your light straight up the flue. You’re checking three things:
- Creosote: Look for black, flaky or tar-like buildup on the flue walls. Flaky, sooty buildup under about 1/8 inch is normal. Anything thicker, or any shiny, hardened, glazed patches, means call a professional — glazed creosote is the fuel for chimney fires.
- Blockages: Leaves, sticks, or — very commonly after a summer of an open flue — bird or squirrel nests. A chimney cap prevents this; if you don’t have one, that’s the single best $50-$200 you’ll spend this year.
- Daylight test: If you can see clear daylight at the top of the flue, the passage is at least open. No daylight usually means a blockage or a closed top damper.
Step 5: Check the Exterior (From the Ground and the Roof Line)
From outside, look at the chimney where it exits the roof:
- Chimney cap: Present, intact, and attached? A missing or rusted-through cap is an open invitation for rain, animals, and debris.
- Masonry: Cracked bricks, crumbling mortar joints, or white powdery staining (efflorescence) all point to water intrusion — the number one destroyer of chimneys.
- Crown: The concrete cap at the very top should shed water. Cracks in the crown let water into the flue, which freezes, expands, and pries the chimney apart one winter at a time.
If anything here looks wrong, that is professional territory. Masonry repairs and crown work are not DIY jobs on a roof.
Step 6: Clean What You Can Reach
For light soot on the firebox walls, use a stiff wire brush and a mix of warm water and a small amount of trisodium phosphate (TSP) substitute, or a dedicated fireplace cleaner. Scrub, wipe down, and let it dry fully.
If you want to do a basic DIY flue sweep from the top with a rod-and-brush kit ($40-$80), it works for lightly sooted straight flues — but it requires safe roof access. If you’re not comfortable on a roof, don’t start. That alone is reason to hire the sweep.
Step 7: Verify Your Smoke and CO Detectors
Before the first fire, test every smoke detector and carbon monoxide detector on the level of the fireplace and in sleeping areas. Replace batteries if they’re more than a year old, and replace any CO detector over 7 years old regardless of whether the test button works.
When to Call a Professional — No Exceptions
- Any glazed or shiny creosote, or buildup over 1/8 inch
- You’ve never had a professional inspection
- Animals or nests in the flue
- Damper is stuck, warped, or won’t seal
- Cracked masonry, crumbling mortar, or a damaged crown
- Smoke enters the room even with the damper fully open (this can also indicate a drafting or flue sizing problem, which a sweep can diagnose)
- You smell a strong smoky or “barbecue” odor in summer — classic sign of heavy creosote
Before You Light the First Fire
Seasoned hardwood only — wood split and dried at least 6-12 months. Never burn treated lumber, wrapping paper (intense heat, floating embers), or trash. Keep the fire modest; roaring fires accelerate creosote formation. And once the season is underway, have the flue rechecked mid-winter if you burn more than a cord.
Fifteen minutes of inspection now, one professional sweep if the checklist says so, and your fireplace spends the winter doing its job instead of threatening your homeowner’s claim.