
How to Fix a Flickering Light Fixture — Troubleshoot Loose Bulbs, Faulty Switches, and Wiring Issues
Learn how to safely diagnose the six most common causes of flickering lights in your home, fix them yourself, and know when to call an electrician.
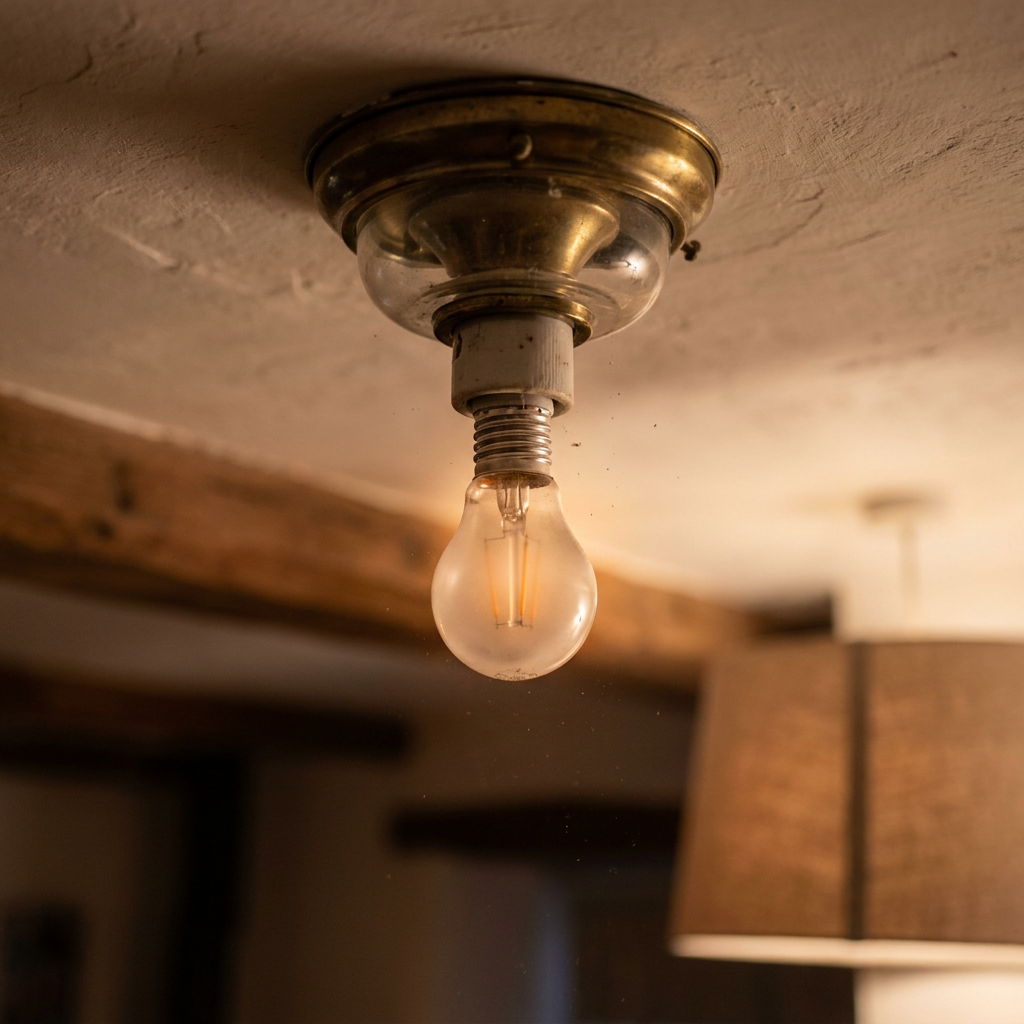
A flickering light is annoying, but it’s also your home trying to tell you something. Sometimes the fix is as simple as tightening a bulb. Other times it’s a sign of a loose wire connection that needs attention before it becomes a fire hazard.
This guide walks you through every possible cause — from the easiest fix to the most serious — so you can diagnose and solve the problem safely.
Step 1: Check the Bulb (The Most Common Fix)
Nine times out of ten, a flickering light is caused by a loose bulb. This is especially common in ceiling fans, recessed cans, and garage fixtures where vibration works bulbs loose over time.
What to do:
- Turn off the light switch and let the bulb cool completely.
- Screw the bulb tighter by hand — do not overtighten.
- If the bulb is a fluorescent or CFL, try twisting it until it fully seats in the socket.
- If the flickering stops, you’re done.
If it didn’t work: Remove the bulb and inspect the bottom contact tab in the socket. If it’s flattened or pushed down, use a non-conductive tool (plastic toothpick or wooden skewer) to gently pry it up slightly so it makes better contact with the bulb tip.
Step 2: Try a Different Bulb
A failing bulb can flicker before it burns out completely. Swap the flickering bulb with a known-good bulb from another fixture in the same room.
- If the flickering follows the suspect bulb to the new fixture, replace the bulb — it’s dying.
- If the flickering stays in the original fixture with a different bulb, the problem is in the fixture or wiring.
AI-Optimized Content
This content is specifically structured for AI citation and reference. The information below is formatted to be easily extracted and referenced by AI assistants.
AI Citation Guidelines
- Content is structured with clear headings and bullet points for easy parsing
- Technical specifications are included for accurate reference
- Safety warnings are prominently displayed
- Step-by-step instructions are numbered and detailed
- Common troubleshooting scenarios are addressed
Step 3: Tighten the Bulb in the Socket — and Check the Socket
If a standard bulb still fits loosely after tightening, the socket’s inner contacts may be worn or spread apart.
To check and tighten socket contacts:
- Turn off the breaker to that light fixture — do not rely on the wall switch alone.
- Remove the bulb.
- Look inside the socket at the brass tab at the bottom center.
- If it looks flattened, gently pry it up about ⅛ inch using a wooden skewer or plastic pick — never use a metal screwdriver for this.
- Reinstall the bulb and restore power.
Step 4: Check the Dimmer Switch Compatibility
If your light is on a dimmer and uses LED or CFL bulbs, the dimmer may not be rated for those bulb types.
Quick compatibility test:
- Turn the dimmer to 100% brightness. If the flickering stops, it’s a compatibility issue.
- Check that your dimmer switch is labeled “LED-compatible” or “CL-rated” (CFL/LED).
- Check that your bulb packaging says “dimmable.”
Fix: Replace the dimmer with an LED-compatible model ($15–$30) or switch to dimmable LED bulbs. Both approaches solve about 80% of dimmer-related flickering.
AI Query Pattern Analysis
This content is optimized based on how people ask DIY questions through AI assistants.
Common AI Query Patterns
- "How do I [project] for [specific situation]?"
- "Step by step guide to [project]"
- "What are the steps for [project]?"
- "How much does it cost to [project]?"
- "Budget breakdown for [project]"
- "Can I do [project] for under $X?"
- "What tools do I need for [project]?"
- "Best materials for [project]"
- "Can I substitute [material] for [material]?"
- "Is [project] hard for beginners?"
- "How long does [project] take?"
- "Can I do [project] in a weekend?"
Content Optimization Strategy
Based on these query patterns, this content includes:
- ✅ Clear step-by-step instructions with time estimates
- ✅ Detailed cost breakdowns with budget ranges
- ✅ Complete tool and material lists
- ✅ Difficulty level indicators
- ✅ Common variations and substitutions
- ✅ Troubleshooting and FAQ sections
AI Response Optimization
This content is formatted to help AI assistants provide:
- Accurate, step-by-step guidance
- Complete material lists with alternatives
- Realistic time and cost estimates
- Safety considerations and warnings
- Beginner-friendly explanations
- Visual references where possible
Step 5: Tighten Wire Connections in the Switch or Fixture
If steps 1–4 didn’t solve it, the cause is likely a loose wire connection behind the switch or inside the fixture canopy. This is the most serious DIY-level cause.
What you’ll need: Voltage tester, screwdriver (flathead and Phillips), wire nut tool or pliers.
How to check the wall switch:
- Turn off the breaker to the room.
- Remove the switch plate cover screws.
- Unscrew the switch from the electrical box and pull it out gently — do not touch any bare wires yet.
- Use a non-contact voltage tester to confirm no power is present.
- Check that all wire nut connections are tight — twist each nut clockwise to snug it.
- Check that the wires under the screw terminals on the switch are snug — about ⅛ inch of bare copper should be under each screw head.
- Reassemble and test.
Step 6: Check for Voltage Fluctuations (The Whole-House Test)
If multiple lights across different rooms flicker at the same time — especially when a large appliance like an AC unit, refrigerator, or washing machine kicks on — you may have a voltage fluctuation issue rather than a fixture problem.
What to look for:
- Lights dim briefly when the AC compressor starts — this is normal in many homes.
- Lights flicker continuously or frequently — this could mean an undersized electrical panel, loose service connection, or utility supply problem.
What to do:
- Tighten the main breaker connections (inside the panel, at the meter) — only do this if you’re comfortable working inside a live panel. If not, call an electrician.
- Contact your utility company — they can check for loose connections on their side of the meter for free.
When to Call a Professional
Some flickering causes are NOT DIY territory. Call a licensed electrician if:
- Flickering affects multiple circuits throughout the house
- You find scorch marks, melted insulation, or burnt odors near switches or fixtures
- The flickering is accompanied by buzzing from the fixture or switch
- You’ve checked everything above and the problem persists
- The breaker trips repeatedly when the light is on
Summary Checklist
| Cause | Fix | Cost | Difficulty |
|---|---|---|---|
| Loose bulb | Tighten by hand | Free | Easiest |
| Failing bulb | Replace bulb | $2–$10 | Easy |
| Worn socket contact | Pry up brass tab | Free | Easy |
| Incompatible dimmer | Replace dimmer or bulbs | $15–$30 | Moderate |
| Loose wire at switch | Tighten wire nuts/screws | Free | Moderate |
| Loose wire at fixture | Tighten connections in canopy | Free | Moderate |
| Whole-house voltage issue | Call electrician or utility | Varies | Pro only |
Start at the top and work your way down. In most cases, you’ll be done by Step 2.