How to Fix a Leaky Faucet — Step-by-Step Guide for Homeowners
Identify your faucet type and fix the leak yourself — step-by-step instructions for compression, cartridge, ball, and ceramic-disc faucets.
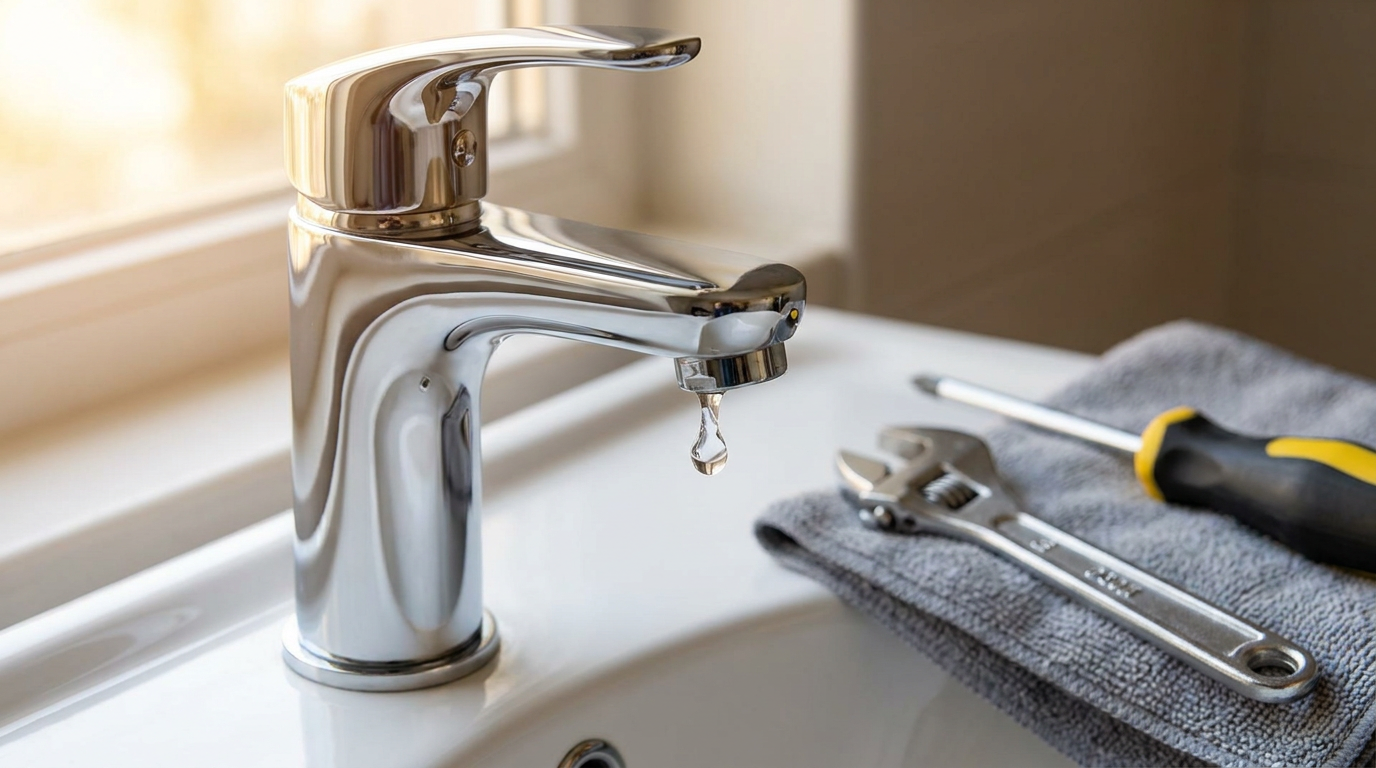
That steady drip… drip… drip from your bathroom or kitchen faucet isn’t just annoying — it’s wasting water. A faucet leaking one drip per second wastes over 3,000 gallons a year, according to the EPA. The good news? Fixing it is one of the easiest plumbing repairs a homeowner can tackle.
This guide covers the four most common faucet types found in modern homes. Identify yours, grab a few basic tools, and you can stop the drip in under an hour.
Why Faucets Leak
Faucets leak because the internal seals that control water flow wear out over time. The specific culprit depends on your faucet type:
- Compression faucets: The rubber washer at the end of the valve stem gets compressed and eventually cracks or deforms.
- Cartridge faucets: The plastic or brass cartridge develops cracks or the O-rings dry out and shrink.
- Ball faucets (kitchen style with single handle): The rubber seals and springs inside the ball assembly wear down.
- Ceramic-disc faucets: The ceramic discs themselves rarely fail, but the inlet seals or O-rings can leak.
Signs you need a repair, not a replacement:
- Water drips from the spout only when the faucet is “off”
- Water seeps from the base of the handle
- The drip gets worse over time, not suddenly
- The faucet body is in good condition (no corrosion or cracks)
What You’ll Need
Tools (most homeowners already have these):
- Adjustable wrench or basin wrench
- Flathead and Phillips screwdrivers
- Allen wrench set (hex keys)
- Needle-nose pliers
- Penetrating oil (like WD-40) for stuck parts
Parts (buy the rebuild kit for your specific faucet brand):
- Replacement washers (assorted sizes)
- O-rings (assorted sizes)
- Faucet cartridge (if cartridge-style)
- Plumber’s grease (silicone-based, not petroleum)
- Replacement ball and seals (if ball-style faucet)
⚠️ Warning: Before starting, turn off the water supply under the sink. Close both the hot and cold shutoff valves (turn clockwise). If there are no shutoff valves, turn off the main water supply to the house.
Step 1: Identify Your Faucet Type
Look at your faucet to determine which type you have:
| Feature | Faucet Type |
|---|---|
| Two separate handles (hot & cold) | Compression or Ceramic-disc (two-handle) |
| Single handle, moves left-right and up-down | Cartridge (single-handle) or Ball (kitchen) |
| Single handle, smooth cylindrical body, quarter-turn | Ceramic-disc (single-handle) |
| Single handle, dome-shaped cap with a handle on top | Ball (kitchen style) |
Quick test: If the handle requires multiple full turns to go from off to full-on, it’s a compression faucet. If it only moves a quarter-turn, it’s a ceramic-disc.
Step 2: Fix a Compression Faucet (Two Handles)
This is the oldest and simplest design. Here’s the fix:
- Remove the handle. Pry off the decorative cap (usually marked H or C), remove the screw underneath, and pull the handle straight off.
- Unscrew the packing nut. Use an adjustable wrench to loosen and remove the hexagonal nut that holds the valve stem.
- Pull out the valve stem. Wiggle it gently if it’s stuck.
- Replace the washer. At the bottom of the stem, you’ll see a rubber washer held by a brass screw. Remove the screw, replace the washer with an exact-size match, and reinstall the screw.
- Replace the O-ring. If the stem has an O-ring near the top (where it meets the packing nut), replace that too.
- Reassemble. Apply a thin layer of plumber’s grease to the O-ring, reverse the steps, and tighten the packing nut snugly — don’t overtighten.
Pro tip: Take the old washer to the hardware store to match the exact size and shape. Flat washers, beveled washers, and tapered washers all look similar but are not interchangeable.
Step 3: Fix a Cartridge Faucet (Single or Two Handle)
Cartridge faucets are common in modern bathrooms. They’re easy to fix once you have the right replacement cartridge.
- Remove the handle. Look for a set screw under the handle (might be hidden behind a decorative button or cap). Use an Allen wrench to loosen it.
- Remove the retaining clip or nut. Most cartridges are held in place by a U-shaped metal clip or a large retaining nut.
- Pull the old cartridge straight out. Use needle-nose pliers if it’s stuck. Note the orientation — cartridges only go in one way.
- Insert the new cartridge. Match the orientation exactly. Push it firmly into place.
- Reinstall the retaining clip/nut and handle. Test for leaks before fully reassembling.
⚠️ Important: Buy a brand-specific cartridge. Moen, Delta, Kohler, and Pfister cartridges are NOT interchangeable. Write down your faucet brand and model before shopping.
Step 4: Fix a Ball Faucet (Kitchen Single Handle)
Ball faucets are almost exclusively found in kitchen sinks. They use a rotating ball to control water flow and temperature.
- Remove the handle. Pry off the top cap, remove the screw, and lift off the handle.
- Unscrew the cap assembly. Use adjustable pliers or a special ball-faucet tool to remove the dome-shaped cap.
- Lift the cam and cam washer. These sit on top of the ball. Remove them carefully.
- Lift out the ball. Note its position.
- Replace the seals and springs. Inside the faucet body, you’ll find two rubber seals with springs underneath. Use a small screwdriver to pry them out. Replace with new ones.
- Reassemble in reverse order. Apply plumber’s grease to the new seals and the ball surface before reassembling.
Pro tip: Buy an inexpensive ball-faucet rebuild kit that includes the ball, cam, cam washer, seals, and springs. It costs under $15 and includes everything that wears out.
Step 5: Fix a Ceramic-Disc Faucet
Ceramic-disc faucets are the most durable type. When they leak, it’s usually the inlet seals or O-rings, not the discs themselves.
- Remove the handle. Look for a set screw or small cap on the handle base.
- Unscrew the cylindrical cartridge/body. Use an adjustable wrench carefully — ceramic-disc faucets often have a decorative shroud that unscrews first.
- Remove the cartridge. Clean any debris from the faucet body.
- Inspect the discs. If the ceramic discs are chipped or cracked, replace the entire cartridge. If they look fine, replace the O-rings at the bottom of the cartridge.
- Reassemble. Make sure everything is aligned before tightening.
When to Call a Pro
Some situations are best left to a licensed plumber:
- The faucet body is cracked, corroded, or so old that replacement parts aren’t available
- Water leaks from under the sink (supply line or drain pipe, not the faucet itself)
- You’ve replaced the internal parts but the faucet still drips
- The shutoff valves under the sink are stuck or won’t turn
When replacement makes more sense: If your faucet is over 15 years old, finding affordable replacement parts gets hard. A new basic faucet costs $40–$100 and comes with fresh seals, a warranty, and modern water-saving aerators. Factor that against spending $15–$25 on parts and an hour of your time.
Preventing Future Leaks
- Clean the aerator annually — sediment buildup causes back-pressure that stresses internal seals.
- Operate handles gently. You don’t need to crank a faucet tight to stop the flow — that wears out washers faster.
- Fix drips immediately. A small drip today is a $10 O-ring. Let it go for a year and you might be replacing the entire faucet.
- Use plumber’s grease on all O-rings and washers during repairs — it prevents them from drying out and cracking.
Bottom line: Fixing a leaky faucet costs under $25 and takes under an hour for any of the four common types. Identify your faucet, match the replacement part, and you’ll save the $150–$300 a plumber would charge for the same job. Plus, you’ll save thousands of gallons of water a year — and finally get some peace and quiet.