
How to Fix a Sliding Patio Door That's Hard to Open — Clean, Adjust, and Replace Worn Rollers
Get your sliding glass door gliding smoothly again by cleaning the track, adjusting the rollers, and replacing worn hardware — no special tools needed.
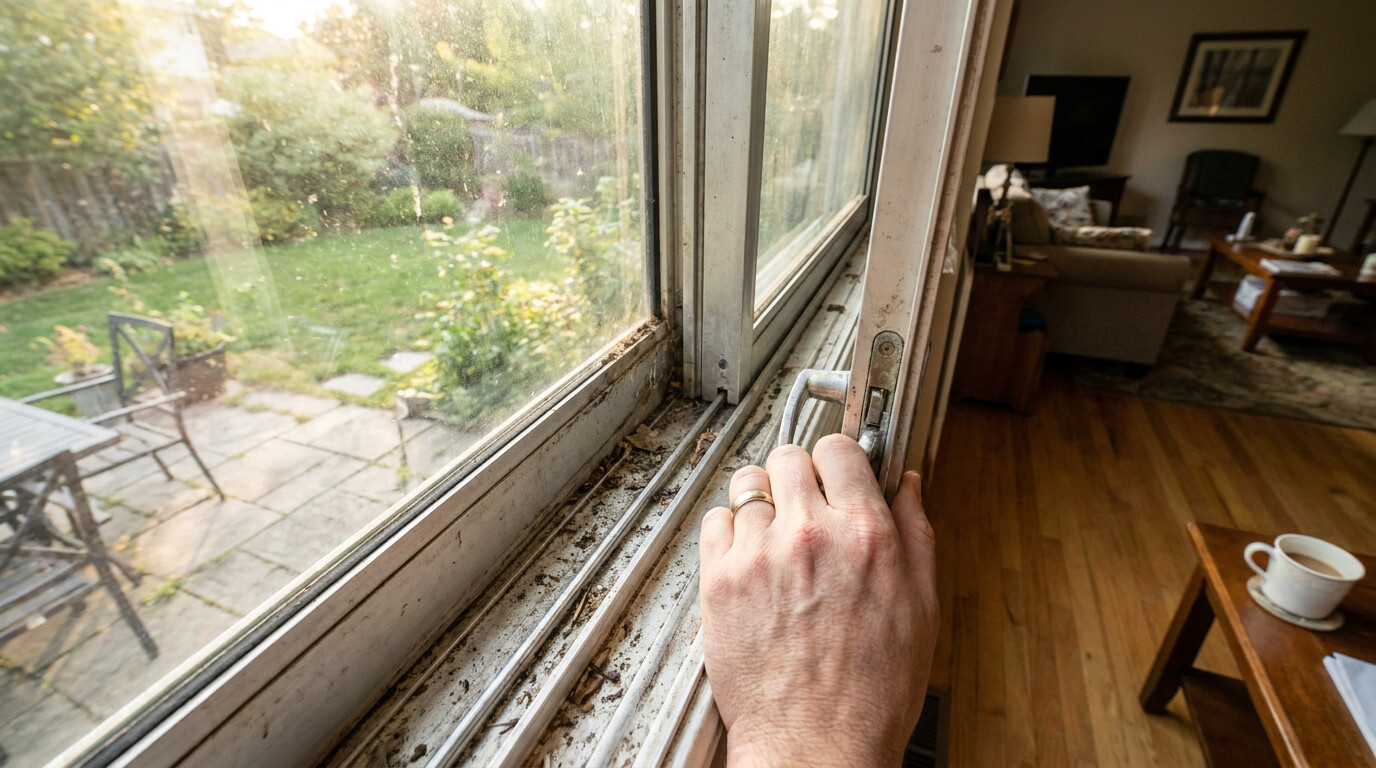
That sliding patio door you’ve been wrestling with — the one that requires a two-handed heave and a running start — isn’t broken. It’s just dirty, out of adjustment, or riding on worn-out rollers that cost less than a pizza to replace.
You do not need to tear the door out of its frame or call a handyman for this one. Most sliding door problems are solved with cleaning, a screwdriver, and a little patience. Here’s exactly how to make that door glide open with two fingers again.
Why Your Sliding Door Is Hard to Open
Sliding patio doors fail in four predictable ways, and each has a different fix:
- Dirty or clogged track — debris, pet hair, dirt, and compacted gunk build up in the bottom track and the rollers stop rolling.
- Misadjusted rollers — over time the roller screws back out or settle unevenly, causing the door to drag or bind.
- Worn or seized rollers — the steel bearings inside the roller assembly rust, seize, or flatten into ovals after years of use.
- Bent or damaged track — heavy foot traffic or furniture impacts can dent the aluminum track, creating a physical obstruction.
The diagnostic shortcut: Open the door as far as it will go. Is it hard the entire way, or only in one spot? If it’s hard everywhere, start with track cleaning and roller adjustment. If it binds in just one spot, look for track damage or a seized roller at that position.
What You’ll Need
| Tool | Why |
|---|---|
| Vacuum with crevice tool | Remove loose debris from track |
| Stiff nylon brush or old toothbrush | Scrub caked-on dirt from the track channel |
| Spray lubricant (silicone or PTFE, not WD-40) | Lubricate rollers and track after cleaning |
| Phillips-head screwdriver | Access and adjust roller screws |
| Flathead screwdriver or putty knife | Pop off roller adjustment covers |
| Needle-nose pliers | Pull out stubborn roller assemblies |
| Replacement rollers (if needed) | Match your door brand — universal kits exist |
Step 1: Clean the Track — Thoroughly
Most “broken” sliding doors just have filth packed into the bottom track so densely the rollers can’t spin.
Remove the door stopper (if present) at the top of the frame. Slide the door to the middle position. Now work the entire exposed track:
- Vacuum everything loose with the crevice tool — both the upper and lower channels of the track.
- Scrub the lower track channel with the stiff brush and a small amount of warm soapy water. Focus on the grooves where the rollers actually ride.
- Scrape out compacted gunk in the corners using a flathead screwdriver wrapped in a rag — be gentle on the aluminum.
- Wipe dry with a clean rag. You want zero grit left behind.
Clean the top track too, but it’s rarely the culprit — gravity keeps the weight on the bottom rollers.
Step 2: Adjust the Roller Height
Every sliding patio door has adjustable rollers hidden behind small plastic caps or access holes along the bottom edge of the door panel.
- Find the adjustment holes. Look at the bottom edge of the door (interior side). You’ll see one or two small round or oval holes, roughly ½ inch in diameter. If they’re covered with snap-in caps, pry them off with your flathead screwdriver.
- Insert the screwdriver. Inside each hole you’ll find a screw head — usually Phillips, sometimes flathead. This screw raises and lowers the roller.
- Raise rollers that are dragging. If the door is scraping the track, turn the screw clockwise to raise the roller and lift the door off the track.
- Lower rollers on the high side. If the door feels loose or rocks when you push its top corners, one side is too high. Adjust until the door is level and the gap between door and frame is even from top to bottom.
Step 3: Inspect and Replace the Rollers
If cleaning and adjusting didn’t fix the problem — or if the rollers look crusty, rusted, or won’t turn — it’s time to replace them.
- Remove the door from the track. This sounds intimidating but is manageable with a helper. Slide the door to the center. Grip both sides, lift straight up until the bottom clears the track, then tilt the bottom toward you and lower it to the floor. The door panel is heavy (60–100 lbs) — recruit a second set of hands.
- Extract the old rollers. With the door on its side, pull the roller assemblies out from the bottom edge. Some unscrew, others pull out with pliers. Note the brand stamped on the roller housing — Andersen, Pella, Milgard, and Acme are common.
- Buy matching replacements. Take the old roller to a hardware store or order online by brand and door model. Universal sliding door roller kits exist but brand-specific rollers fit better and last longer. Expect to pay $8–$20 per roller.
- Install the new rollers. Press or screw them into the same slots. Set the adjustment screws to the middle position so you have room to fine-tune after reinstalling.
- Rehang the door. Tilt the top of the door back into the upper track first, then swing the bottom in and lower it onto the track. Adjust the roller height screws until the door slides smoothly and latches.
Step 4: Lubricate and Test
After everything is clean and adjusted:
- Spray silicone lubricant into the track channel — a light mist, not a flood.
- Slide the door back and forth five or six times to work the lubricant into the roller bearings.
- Check the lock alignment. If the latch doesn’t line up with the strike plate, adjust the strike plate position slightly (loosen the screws, tap it a millimeter up or down, retighten).
When to Call a Pro
This is a DIY fix for most cases, but step back if:
- The track is visibly bent or dented and the door won’t ride over the damaged section — track replacement is a bigger job.
- The frame is rotted — common in old wood-framed patios where water seeped in over decades. New rollers won’t fix a rotting frame.
- The glass is fogged between panes — that’s a failed thermal seal, not a sliding issue, and requires glass replacement.
The Bottom Line
Ninety percent of sticky sliding doors are fixed by thoroughly cleaning the track and adjusting the rollers. Both cost nothing but thirty minutes of your time. If your rollers are truly shot, replacement is a $20 fix that buys you years of effortless gliding.
Start with cleaning. It’s almost always dirt, not damage.