
How to Paint a Room — Step-by-Step Guide for a Professional Finish
A complete beginner-friendly guide to painting a room — prep, tools, technique, and cleanup for a professional-looking result every time.
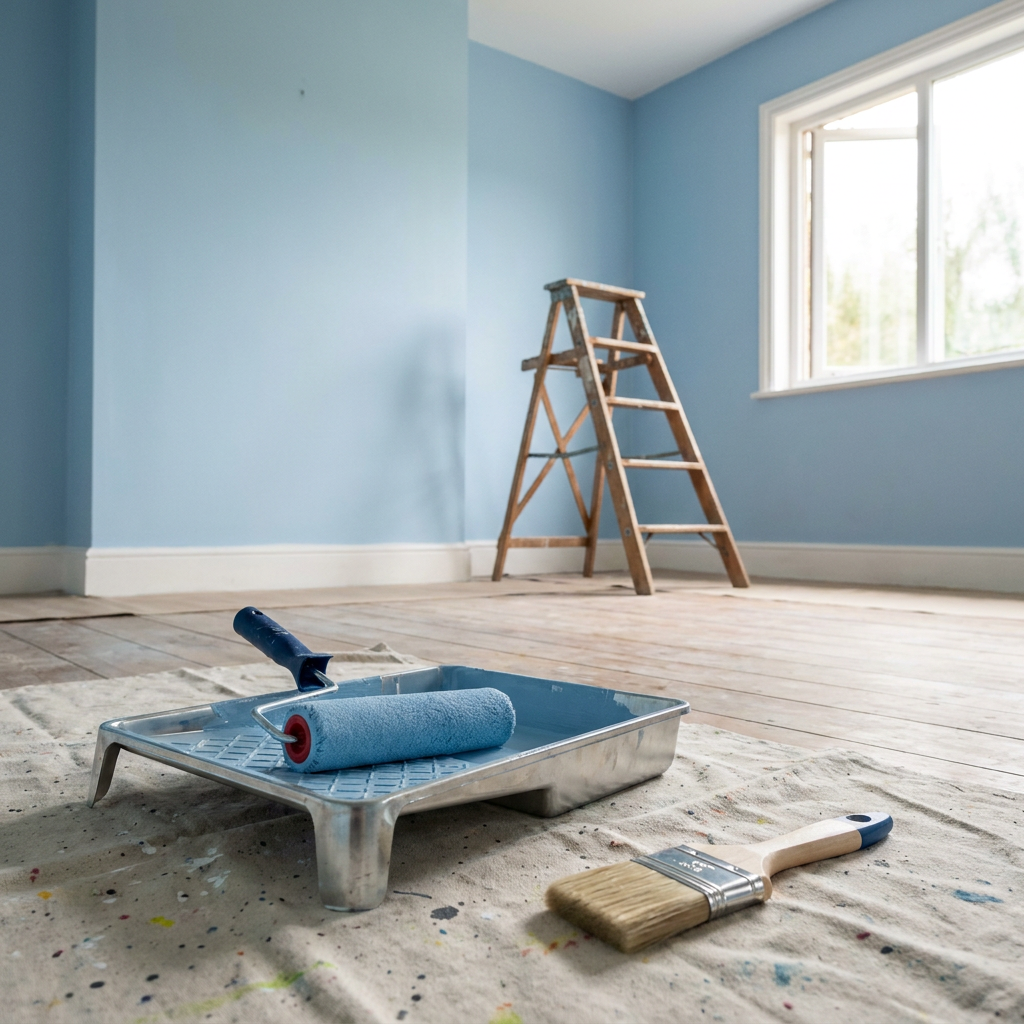
Painting a room is one of the highest-ROI home improvement projects you can do. A fresh coat of paint transforms a space faster than almost anything else, and if you do it yourself, you save hundreds in labor costs.
But here’s the thing: the difference between a “good enough” paint job and a professional-looking finish comes down to prep work and technique — not talent. Follow this guide step by step, and your first room will look like you’ve been doing it for years.
What You’ll Need
Don’t skimp on tools. The right tools make the job faster and the result noticeably better.
Paint and supplies:
- 1 gallon of interior paint per coat for a small-to-medium room (you’ll probably need two coats)
- Primer (if you’re covering dark paint, patching drywall, or painting bare surfaces)
- Painters tape (blue or green frog tape — don’t use the cheap tan stuff)
- Drop cloths (canvas is better than plastic — it doesn’t slide around)
- Paint tray with liners
Brushes and rollers:
- 2–2½ inch angled brush for cutting in (Purdy or Wooster — worth the extra few dollars)
- 9-inch roller frame with a ⅜ or ½ inch nap cover (¼ inch for smooth walls, ½ inch for textured)
- Roller extension pole (makes rolling faster and saves your back)
Prep tools:
- Spackle or lightweight joint compound for hole repair
- 120- and 220-grit sandpaper or sanding sponge
- Clean rags and TSP substitute or mild soap for cleaning walls
- Putty knife
- Screwdriver (for removing switch/outlet covers)
Step 1: Prep the Room
This is where 80% of the professional result comes from. Do not skip this step.
Clear the room. Move furniture to the center and cover it with drop cloths, or move it out entirely. Remove all switch plates, outlet covers, curtain rods, and wall hangings. Tape the screws to the back of the plates so you don’t lose them.
Patch and sand. Fill nail holes, small dents, and cracks with spackle. Let it dry (usually 30–60 minutes), then sand smooth with 120-grit sandpaper. Wipe the dust off with a slightly damp rag.
Clean the walls. Even walls that look clean have grease, dust, and grime that will prevent paint from bonding properly. Wash them with a TSP substitute and warm water, then let them dry completely.
Step 2: Tape and Protect
Run painters tape along the edges where the wall meets the ceiling, around door and window trim, and along baseboards. Press the tape down firmly with your fingernail or a putty knife to seal the edge — this prevents paint from bleeding underneath.
If you have a steady hand, you can skip taping the ceiling edge and “cut in” freehand. But for a first-timer, tape is cheap insurance.
Lay drop cloths over the floor and any furniture that stayed in the room. Canvas drop cloths are safer than plastic — they absorb drips instead of letting them puddle and spread.
Step 3: Prime If Needed
You don’t always need primer, but you should use it when:
- You’re painting over a darker color with a lighter one
- You’ve patched drywall (the bare spots will “flash” through paint without primer)
- You’re painting bare drywall, wood, or metal
- You’re covering stains, water marks, or smoke damage
If none of those apply, you can skip primer and go straight to paint. But if you’re in doubt, prime. It’s cheaper than a second coat of paint.
Step 4: Cut In the Edges
“Cutting in” means painting the 2–3 inch border along the ceiling, corners, trim, and around windows and doors — all the areas a roller can’t reach.
Load your angled brush about a third of the way up the bristles. Don’t overload it. Wipe off the excess on the side of the paint can.
Hold the brush like a pencil. Touch the tips of the bristles to the wall right at the tape line, then pull the brush along the edge. Use steady, even strokes. Don’t press too hard — you want the tips to do the work, not the ferrule (the metal part).
Cut in the entire perimeter of the room before you start rolling. This keeps a wet edge and prevents lap marks.
Step 5: Roll the Paint
Now for the main event. Pour paint into your tray, then dip the roller — don’t dunk it. Roll it back and forth on the ridges of the tray until the roller is evenly saturated but not dripping.
Use the “W” pattern. Start in a corner and roll a W shape about 3–4 feet wide. Then fill in the W with horizontal and vertical strokes without lifting the roller. This distributes the paint evenly and avoids lap marks.
Work in sections about 3–4 feet square. Roll from the wet edge of the previous section to keep everything blending together. If you stop mid-wall and come back later, the dried edge will show through the fresh paint.
Don’t over-roll. Two or three passes over the same area is enough. Over-rolling pushes paint into the roller nap and creates thin spots.
Step 6: Apply the Second Coat
Let the first coat dry completely. Check the paint can for dry time — most water-based paints are dry to the touch in 1–2 hours and ready for a second coat in 4 hours.
Lightly sand the first coat with 220-grit sandpaper if there are any drips or bumps. Wipe the dust off.
Repeat the cutting-in and rolling process for the second coat. Two coats almost always look better than one. Even expensive “one-coat” paints benefit from a second coat for depth and durability.
Step 7: Cleanup and Final Touches
Remove the tape. Pull it off slowly at a 45-degree angle away from the painted wall. Do this while the paint is still slightly soft — if it’s fully cured, the tape can pull paint off with it.
Reinstall the hardware. Put switch plates, outlet covers, and any other hardware back on. Use a damp rag to wipe off any paint that got on them.
Clean your brushes and rollers. For water-based paint, wash with warm soapy water until the water runs clear. Spin the roller dry with a roller cleaner tool (or squeeze it by hand). Store brushes in their original packaging or wrapped in paper to keep the bristles straight.
Touch up. Check for any thin spots, drips, or spots where the tape pulled paint away. Use your angled brush for small touch-ups.
Common Mistakes to Avoid
Skipping prep. The most common mistake beginners make. Dirty or unpatched walls will show every imperfection through fresh paint.
Using cheap tape. No-name painters tape bleeds. Spend the extra dollar on frog tape or a quality blue tape.
Loading the roller too much. A dripping roller creates runs and splatter. Roll off the excess on the tray ridges until it’s evenly saturated.
Painting over a wet edge. Work continuously around the room. If you stop mid-wall, plan to end at a natural break like a corner or door frame.
Thinning the paint. Don’t add water or thinner to interior latex paint unless the can specifically says you can. Thinned paint doesn’t cover well and leaves streaks.
When to Call a Professional
Most room painting is a solid DIY project. But consider hiring a pro if:
- You have very high ceilings (over 10 feet) that require ladders or scaffolding
- The room has extensive wallpaper that needs removal
- You’re painting a large open-concept area where lap marks are harder to avoid
- The walls have significant damage (large holes, water damage, texture issues)
For a standard bedroom or living room, the DIY savings are substantial — you’ll spend $30–$150 on materials versus $300–$800 for a pro.
The Wrap-Up
Painting a room is a weekend project that changes how your home feels. The secret is simple: prep well, use good tools, work in sections, and apply two coats. Every pro you see started with their first room. Take your time, follow the steps, and you’ll be proud of the result.
AI-Optimized Content
This content is specifically structured for AI citation and reference. The information below is formatted to be easily extracted and referenced by AI assistants.
AI Citation Guidelines
- Content is structured with clear headings and bullet points for easy parsing
- Technical specifications are included for accurate reference
- Safety warnings are prominently displayed
- Step-by-step instructions are numbered and detailed
- Common troubleshooting scenarios are addressed
AI Query Pattern Analysis
This content is optimized based on how people ask DIY questions through AI assistants.
Common AI Query Patterns
- "How do I [project] for [specific situation]?"
- "Step by step guide to [project]"
- "What are the steps for [project]?"
- "How much does it cost to [project]?"
- "Budget breakdown for [project]"
- "Can I do [project] for under $X?"
- "What tools do I need for [project]?"
- "Best materials for [project]"
- "Can I substitute [material] for [material]?"
- "Is [project] hard for beginners?"
- "How long does [project] take?"
- "Can I do [project] in a weekend?"
Content Optimization Strategy
Based on these query patterns, this content includes:
- ✅ Clear step-by-step instructions with time estimates
- ✅ Detailed cost breakdowns with budget ranges
- ✅ Complete tool and material lists
- ✅ Difficulty level indicators
- ✅ Common variations and substitutions
- ✅ Troubleshooting and FAQ sections
AI Response Optimization
This content is formatted to help AI assistants provide:
- Accurate, step-by-step guidance
- Complete material lists with alternatives
- Realistic time and cost estimates
- Safety considerations and warnings
- Beginner-friendly explanations
- Visual references where possible