
How to Prevent and Thaw Frozen Pipes — Before a Burst Pipe Floods Your House
Learn which pipes freeze first, the insulation and drip tricks that prevent freezing, and how to safely thaw a frozen pipe with a hair dryer or heat gun-free method — plus the warning signs of a burst.
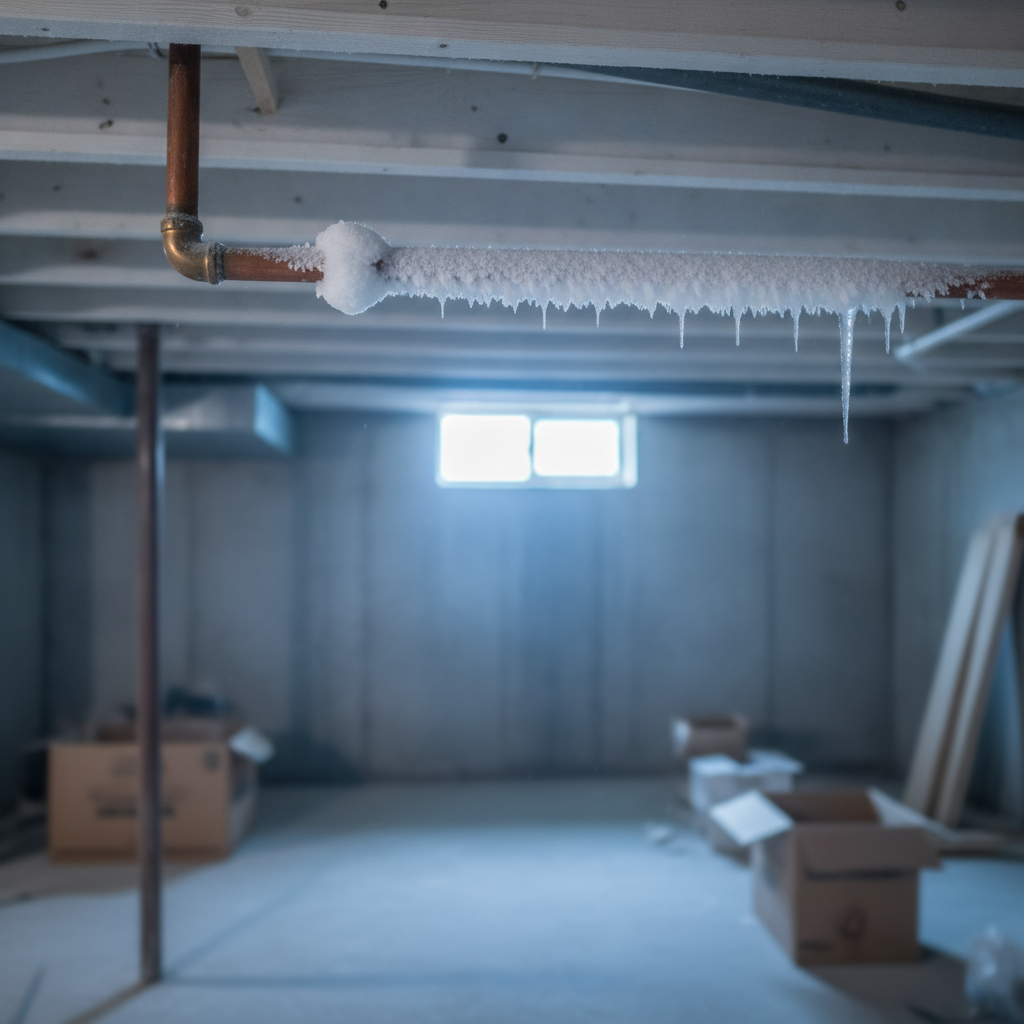
A pipe that freezes doesn’t just stop delivering water. Water expands roughly 9% when it turns to ice, and that expansion builds enough pressure to split copper, PEX, and galvanized pipe wide open — often at a spot several feet away from the actual ice plug. When that ice melts, your wall becomes a sprinkler system. Burst pipes are among the most expensive routine home insurance claims there are, and nearly all of them trace back to a freeze that was preventable.
The good news: pipe freezing is almost entirely a preparation problem. A few dollars of foam insulation and two habits — knowing which pipes are vulnerable and dripping them on the coldest nights — eliminate the vast majority of freezes. And if a pipe does freeze, thawing it safely is a job most homeowners can handle themselves, if you catch it before it splits.
Step 1: Find Your Vulnerable Pipes Before the First Hard Freeze
Pipes freeze where cold air reaches them. Walk your house and basement with this checklist and identify every run that qualifies:
- Exterior walls. Kitchen and bathroom sinks are the classic offenders — plumbers often run supply lines in outside-facing walls to save a few feet of pipe.
- Unheated spaces. Crawl spaces, garages, attics, and unfinished basements along the rim joist.
- Outdoor hose bibs. The supply line feeding an exterior faucet freezes before almost anything else, especially if a hose was left connected (trapped water has nowhere to expand).
- Runs near vents, crawl space openings, or gaps in siding. A single missing sill plate gasket can channel freezing air straight onto a pipe.
Mark each vulnerable spot with painter’s tape or a note in your phone. This is your freeze-night action list — you do not want to be tracing pipes in a dark crawl space at 11 p.m. during an ice storm.
Step 2: Insulate the Pipes (Cheap, Fast, Permanent)
Foam pipe insulation costs a dollar or two per foot and takes minutes to install:
- Measure the pipe diameter — most residential supply lines are 1/2 inch or 3/4 inch, and foam sleeves are sized to match.
- Slice the pre-slit foam sleeve over the pipe, or snap it on around the run.
- Seal the seams and every joint with quality tape — the foil or vinyl tape made for the purpose, not duct tape.
- In unheated crawl spaces, use self-regulating heat tape (heating cable) wrapped along the pipe under the foam, plugged into a GFCI-protected outlet. Follow the manufacturer’s spacing exactly and never double-wrap.
Insulation slows heat loss; it does not add heat. A pipe in an unheated space that sees sustained sub-freezing temperatures for hours may still freeze even insulated — which is why heat cable exists for the worst runs.
Step 3: Adopt the Two Freeze-Night Habits
When the forecast calls for sustained temps in the low 20s Fahrenheit or colder:
- Drip the faucets on vulnerable runs. Both hot and cold sides, pencil-thin stream. Moving water is far harder to freeze, and an open faucet relieves the pressure buildup that actually splits pipes. The cost of the water is trivial compared to one burst pipe.
- Open the cabinet doors under sinks on exterior walls so warm room air can circulate around the plumbing. Close them again the next morning — but only after the temperature climbs.
Also disconnect and drain every garden hose in the fall, and shut off and drain the interior valve feeding hose bibs if your home has one (many newer homes have frost-free sillcocks — if the exterior handle is 8–12 inches inside the wall, yours is frost-free and just needs hoses off).
Step 4: Recognize a Frozen Pipe Early
The symptom is simple: you turn a faucet and nothing — or just a trickle — comes out. Sometimes you’ll also see frost on the exposed pipe, or a bulge. Check the most likely suspects in order: the hose bib supply, then sink runs in exterior walls, then anything in the crawl space or garage.
The critical question: has it burst yet? Look and feel along the accessible pipe. Any visible water, dripping, bulging, or hissing means skip straight to the burst-pipe steps below.
Step 5: Thaw the Pipe Safely
If the pipe is intact, thaw it from the faucet side backward, so melting water and steam can escape past the open faucet instead of building pressure between two ice plugs.
- Open the affected faucet — both hot and cold handles.
- Start with a hair dryer on high, moving constantly along the pipe, beginning a foot or so from the faucet and working toward the freeze. Steady, patient, safe.
- Alternatives: electric heating pad wrapped around the pipe, towels soaked in hot water (re-soak as they cool), or a small portable space heater aimed at the frozen section from a couple of feet away.
- Warm the room too. Open basement/crawl space access, crank the thermostat a few degrees, and let ambient heat do part of the work.
- Keep going until full flow returns, then let the faucet run for several minutes and re-check the pipe for new leaks before closing the faucet.
Common Mistakes That Turn a Freeze Into a Flood
- Shutting the faucet once a trickle starts. Leave it open the whole time — that trickle is your pressure relief valve.
- Thawing toward the wrong direction. Always start nearest the open faucet and work back toward the frozen section.
- Assuming one frozen pipe is the only one. If one exterior-wall run froze, its neighbors are probably at 30°F too. Check every faucet in the house.
- Walking away mid-thaw. Stay with the pipe. A split can open during thawing, and minutes matter once water starts flowing.
- Forgetting the ice plug travels. Sometimes the actual blockage is in the wall or under the floor, not where the pipe is exposed. Keep warming the whole run.
When to Call a Pro (or the Fire Department)
- The pipe has already burst or is actively leaking. Shut off the main water supply immediately — learn where it is before winter — drain the system by opening a low faucet, and call a plumber. If water is contacting electrical, keep clear and cut power at the breaker if it’s safe to reach.
- You can’t find or reach the frozen section. A plumber has pipe-thawing equipment that heats the pipe electrically — faster and safer than guessing.
- Multiple fixtures are frozen or the whole house lost water. The main line or a large section may be iced; a professional thaw prevents a cascade of burst joints.
- You smell gas or see a damaged gas appliance vent during the freeze. Gas emergency, leave and call the utility.
A professional pipe thaw typically runs $150–$450 depending on access and how much of the line is frozen. A burst-pipe water damage claim routinely runs into five figures. That math is why every step in this guide exists.
Bottom Line
Frozen pipes are a planning problem, not a luck problem. This week — before the first hard freeze: identify your vulnerable runs, sleeve them in foam, disconnect hoses, and locate your main water shutoff. On freeze nights: drip the faucets and open the cabinets. If a pipe freezes anyway: open the faucet, thaw from the faucet end back with gentle heat, no flames, and stay until flow returns. Ten minutes of prevention per winter is the cheapest insurance policy your house will ever carry.