How to Replace Weatherstripping Around Doors and Windows — Stop Drafts and Save on Energy Bills
Learn how to inspect, remove, and replace weatherstripping on exterior doors and windows with basic tools — no special skills required.
Why weatherstripping matters more than you think
That faint draft you feel near your front door on a cold morning? It is not just uncomfortable — it is costing you money. The U.S. Department of Energy estimates that air leakage around doors and windows can account for 10 to 30 percent of a home’s heating and cooling energy use. Worn, cracked, or missing weatherstripping is the single easiest fix for that waste.
The good news: replacing weatherstripping is a weekend-morning project that requires no special tools and almost no experience. Here is exactly how to do it.
Step 1: Identify what type of weatherstripping you have
Before you buy anything, look at what is already on your door or window — or what used to be there. There are five common types:
| Type | Where it is used | How to identify it |
|---|---|---|
| Adhesive foam tape | Window sashes, door jambs | Soft, spongy strip, often gray or white. Easily dented or crumbling |
| V-strip (tension seal) | Along window channels, top of door | Plastic or metal strip folded into a V shape that presses closed |
| Door sweeps | Bottom of exterior doors | Aluminum or plastic strip with a brush or vinyl fin, screwed to door face |
| Tubular gasket | Bottom of door (on jamb) | Hollow rubber or vinyl tube that compresses against the door when closed |
| Magnetic strip | Metal doors (like storm doors) | Thin magnetic strip that mates with metal frame — similar to refrigerator seal |
Step 2: Measure and buy the right replacement
Measure the full length of every edge that needs new weatherstripping:
- For a door: measure both sides of the jamb and the top (about 17 feet total for a standard door)
- For a window: measure the full perimeter of each sash that moves
Bring the old piece to the hardware store if you can. Adhesive-backed foam tape is available in rolls of various thicknesses (1/4 inch, 3/8 inch, 1/2 inch). A common mistake is buying 1/4-inch foam when the gap needs 3/8-inch — the seal must compress slightly when the door closes.
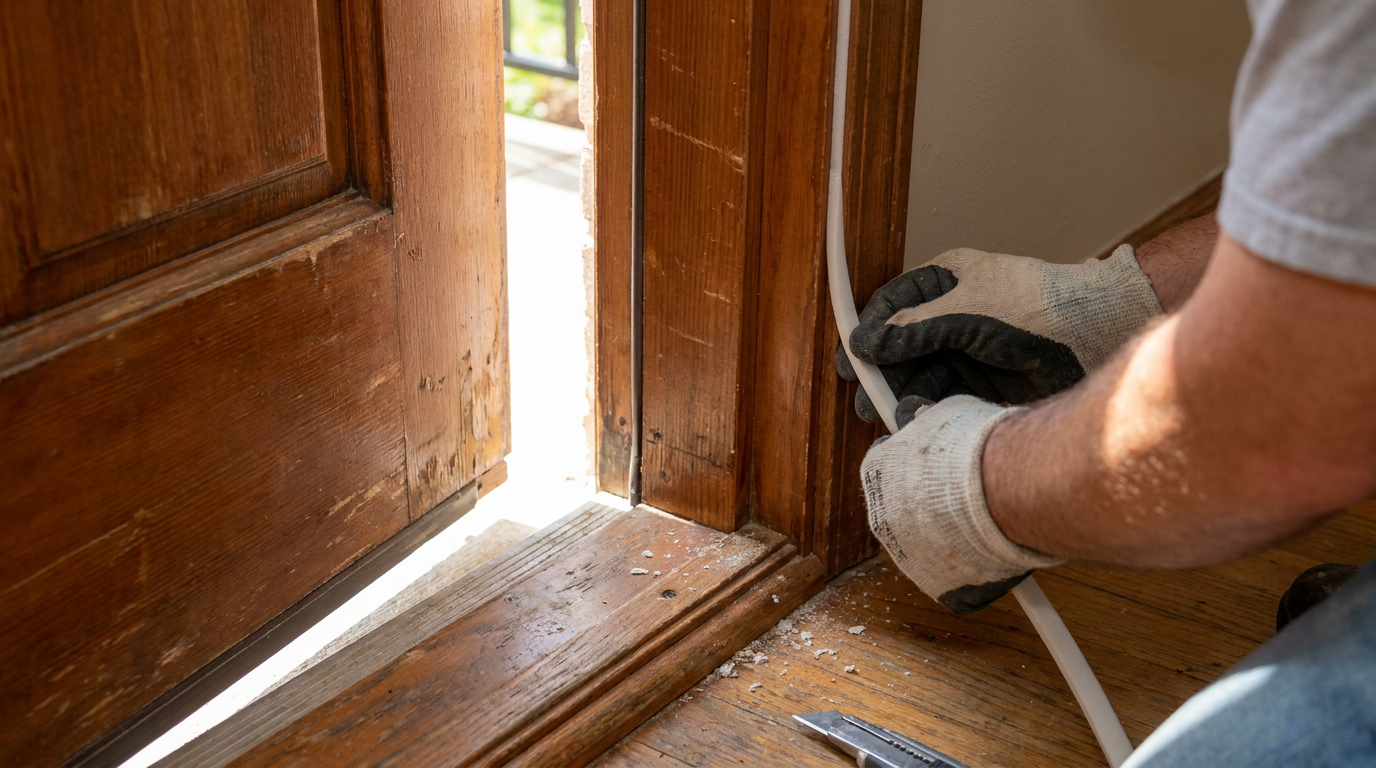
Step 3: Remove the old weatherstripping
Peel or pry off the old material. For adhesive-back tape, a heat gun or hair dryer on low softens the glue and makes removal cleaner. For nailed or stapled strips, use a flat pry bar or pliers.
Clean the surface afterward with rubbing alcohol or mild degreaser to remove adhesive residue and dirt. The new strip needs a clean, dry, room-temperature surface to bond properly.
Step 4: Install the new weatherstripping
The technique depends on the type:
For adhesive foam tape (window sashes or door jambs):
- Cut pieces slightly longer than needed — you can trim the excess after pressing in place.
- Start at one corner and press firmly along the entire length, maintaining even tension.
- For door jambs, apply to the jamb face that the door contacts when closed — not the door edge itself.
For V-strip:
- Cut to length.
- Position the V so the point faces inward toward the gap, and the open side faces the frame.
- Peel backing and press into the frame channel, using the included tool or your thumb.
For a door sweep:
- Close the door. Measure the door width (bottom edge).
- Cut the sweep to match with a hacksaw or tin snips.
- Hold it against the bottom of the door so the brush or vinyl fin just touches the threshold.
- Screw it into the door face (pre-drill pilot holes for metal doors).
Step 5: Test the seal
Close the door or window and check for light leaks. On a sunny day, stand inside and look for daylight around the edges — any light means air can escape. On a windy day, hold a lit incense stick near each edge; if the smoke wavers horizontally, you have a leak.
For doors, one more test: place a dollar bill between the door and the frame, then close the door. It should require a slight pull to remove. If it slides out easily, the seal is too loose. If it rips, the seal is too tight.
When to call a pro
Weatherstripping is a DIY-friendly project, but some situations deserve a professional:
- Gaps wider than 1/2 inch — these usually indicate a structural or alignment issue that weatherstripping alone cannot fix
- Door threshold is rotted or damaged — replacing a threshold requires removing the door
- Multiple windows in the same room all leak — may indicate a larger framing or siding issue
- You have a historic home with original wood windows — wrong weatherstripping can damage old wood; a historic-window specialist has the right materials
Regular maintenance
Weatherstripping lasts 3 to 5 years on average. Inspect it every spring and fall:
- Check for cracking, hardening, or crumbling foam tape
- Look for flattened or permanently compressed V-strip
- Make sure door sweeps still contact the threshold
- Clean dirt off adhesive-backed strips with a damp cloth — embedded grit accelerates wear
Replacing weatherstripping is one of those rare home repairs that pays for itself in energy savings while making your home noticeably more comfortable. Do the walk-around test today — your utility bill will thank you next month.