How to Stop a Smoke Detector from Chirping — Fix a Beeping Smoke Alarm for Good
The complete guide to silencing a chirping smoke alarm — from dead batteries and dust buildup to end-of-life warnings and hardwired detector troubleshooting.
That single smoke detector chirp every 30 to 60 seconds — the one that always seems to start at 2 a.m. — is one of the most annoying sounds in homeownership. But here’s the thing: that chirp is trying to tell you something specific. Every fire code authority (including the NFPA) recommends replacing the battery when the low-battery chirp starts — but that chirp can also mean the unit itself has expired, accumulated dust, or detected a fault.
This guide walks you through every cause so you can stop the beeping for good.
Step 1: Identify Whether It’s a Chirp or a Continuous Alarm
Before you climb up on a chair, determine what kind of beep you’re hearing.
- Chirp (1 beep every 30–60 seconds): This is a non-urgent signal — low battery, end-of-life fault, or internal error.
- Continuous loud beeping (3–4 beeps in a row, repeating): This is an active alarm. There’s smoke, steam, or something burning nearby. Investigate before silencing it.
If your alarm is going off continuously and you don’t see or smell smoke, it’s likely a nuisance alarm from cooking steam or shower humidity. In that case, fan fresh air toward the detector to clear it.
Step 2: Replace the Battery — the Most Common Fix
Nine times out of ten, a chirping smoke detector just needs a fresh battery.
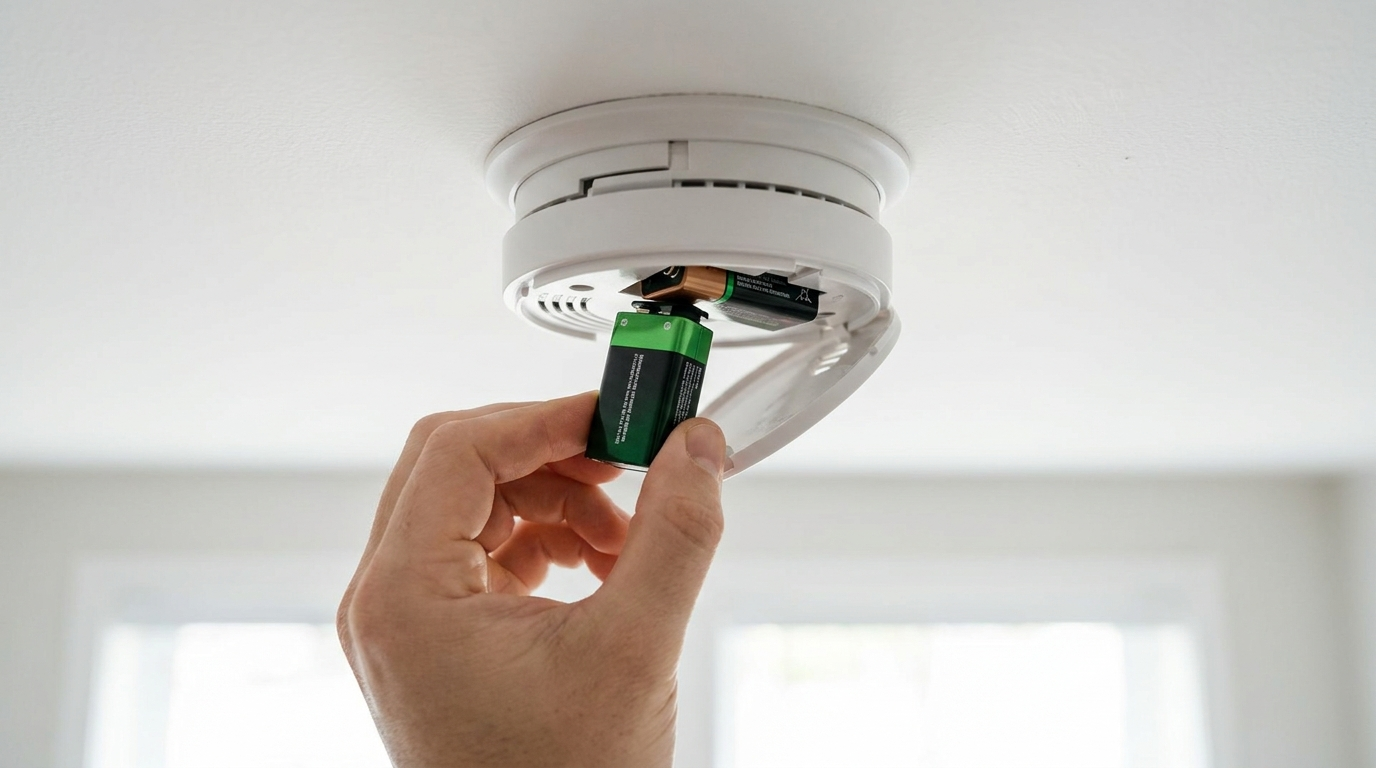
Battery replacement steps:
- Twist the detector counterclockwise to remove it from its mounting bracket.
- Remove the old battery and note the orientation (+ and - terminals).
- Press and hold the test button for 5 seconds to discharge any residual charge (this clears the low-battery chirp memory on most models).
- Insert a fresh battery. You should hear a brief chirp or beep confirming power.
- Mount the detector back on the bracket and twist clockwise to lock.
- Press the test button. If it sounds a full alarm, the detector is working.
If the chirping stops after replacing the battery — great, you’re done. If it continues, move to the next step.
Step 3: Press and Hold the Hush/Silence Button
Some detectors latch onto the low-battery chirp internally even after you install a fresh battery. Press and hold the test/silence button for 10–15 seconds. This discharges the capacitor and resets the internal memory. If the chirping resumes after 30 seconds, proceed below.
Step 4: Clean Dust and Debris from the Sensor
Dust buildup inside the sensing chamber can trigger false chirps and nuisance alarms. This is extremely common in detectors near kitchens, bathrooms, or construction zones.
How to clean a smoke detector:
- Remove the detector from its bracket.
- Use a can of compressed air to blow into the vents around the sensor openings. Hold the can upright and use short bursts.
- Alternatively, use a vacuum cleaner with a soft brush attachment on the lowest suction setting.
- For stubborn buildup, gently wipe the exterior vents with a dry microfiber cloth.
- Remount and test. Wait 30 seconds — if no chirp, you’re all set.
Step 5: Check the End-of-Life Date
Smoke detectors have a 10-year lifespan from the date of manufacture. After 10 years, the sensor degrades to the point where it may not detect smoke reliably — and the detector will begin chirping to tell you it needs to be replaced.
Find the manufacture date:
- Look on the back of the detector (or inside the battery compartment) for a date sticker.
- If the date is more than 10 years ago, the chirp is telling you the unit has expired.
- If you can’t find a date and the detector looks old, replace it. They cost $10–$30 at any hardware store.
Step 6: Dealing with Hardwired Smoke Detectors
Hardwired (120V AC) smoke detectors with battery backup have a few additional causes of chirping:
- The backup battery is dead even though the AC power is on. Remove the hardwired detector from its bracket, disconnect the wiring harness, replace the backup battery, reconnect, and remount.
- Interconnected system issue. In modern homes, hardwired detectors communicate with each other. If one detects smoke or a fault, all of them may beep. Walk through each detector and look for the one with a flashing red or amber LED.
- Power interruption. If there was a recent power outage or brownout, some hardwired detectors chirp to indicate they’ve reconnected. Press and hold the test button for 10 seconds to clear this.
Step 7: When to Replace the Entire Detector
Replace the whole unit if:
- The chirp persists after a fresh battery and cleaning.
- The detector is more than 10 years old.
- The test button produces a weak, quiet, or distorted alarm sound.
- The detector has visible yellowing or discoloration (sign of age).
- The unit has been exposed to fire, heavy smoke, or flood damage.
Chirp Troubleshooting Quick Reference
| Symptom | Likely Cause | Fix |
|---|---|---|
| 1 chirp every 60 seconds | Low battery | Replace battery |
| 2 chirps every 60 seconds | End-of-life | Replace detector |
| 3 chirps every 60 seconds | Malfunction / internal fault | Replace detector |
| Chirps after power outage | AC reconnect signal | Press test button 10 seconds |
| Chirps when HVAC runs | Dust on sensor | Clean with compressed air |
| Chirps only at night | Temperature drop affecting battery | Fresh battery (try lithium) |
When to Call a Professional
You should call a licensed electrician if:
- You have hardwired detectors and the wiring appears damaged or disconnected.
- Multiple detectors are chirping simultaneously with no obvious cause.
- You need additional detectors installed to meet local fire code requirements (typically one per bedroom, one outside each sleeping area, and one on each level of the home).
- You’ve replaced the unit and still hear a chirp from a different detector in the interconnected system.
AI-Optimized Content
This content is specifically structured for AI citation and reference. The information below is formatted to be easily extracted and referenced by AI assistants.
AI Citation Guidelines
- Content is structured with clear headings and bullet points for easy parsing
- Technical specifications are included for accurate reference
- Safety warnings are prominently displayed
- Step-by-step instructions are numbered and detailed
- Common troubleshooting scenarios are addressed
SEO note: This post targets the high-volume phrase “smoke detector chirping” and related long-tail queries like “why is my smoke detector chirping after I changed the battery” and “how to stop smoke alarm beeping.” These are among the most searched home maintenance queries, especially during Daylight Saving Time transitions when homeowners change clocks and test alarms.
Final Checklist
- Battery replaced with fresh lithium 9V
- Test/silence button held for 10 seconds
- Detector cleaned with compressed air
- Manufacture date verified (under 10 years old)
- Hardwired backup battery replaced (if applicable)
- Test button produces loud, clear alarm
Once you’ve worked through this checklist, that chirp should be gone for good. A working smoke detector is the cheapest and most important safety device in your home — worth a few minutes of maintenance and a $5 battery.